Whirlpool Dryer Drum Belt 341241 – OEM & Premium XPart Options Available (Compatible with WPW10112954, W10112954, 8066065)
Whirlpool Dryer Drum Belt 341241 – OEM & Premium XPart Options Available (Compatible with WPW10112954, W10112954, 8066065)
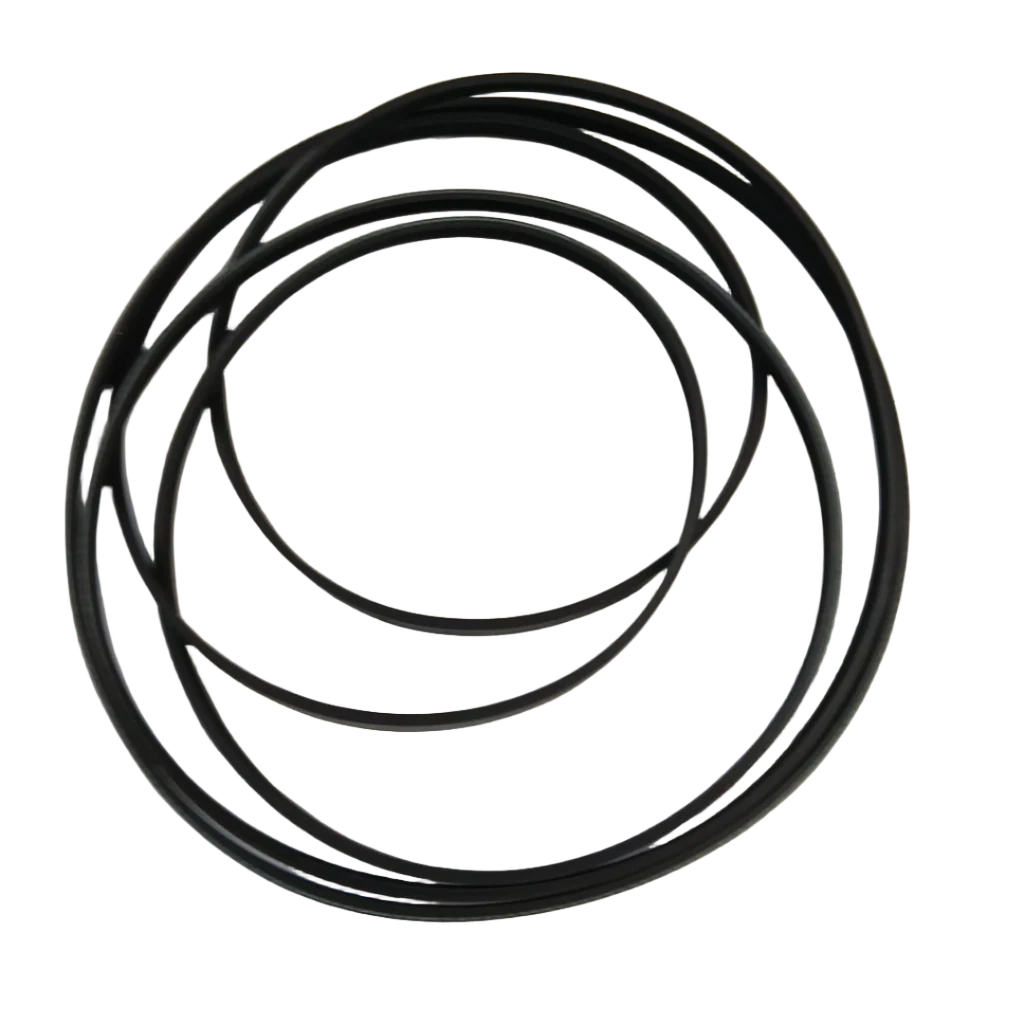
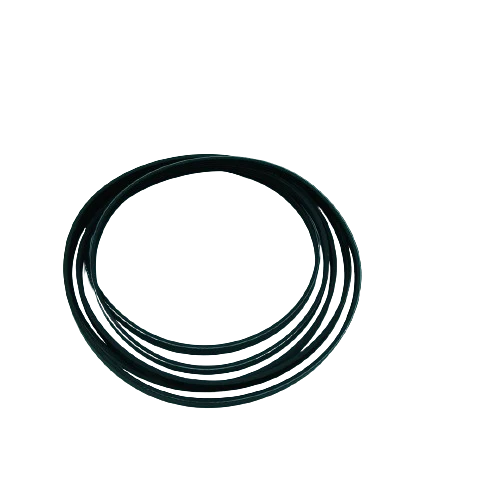
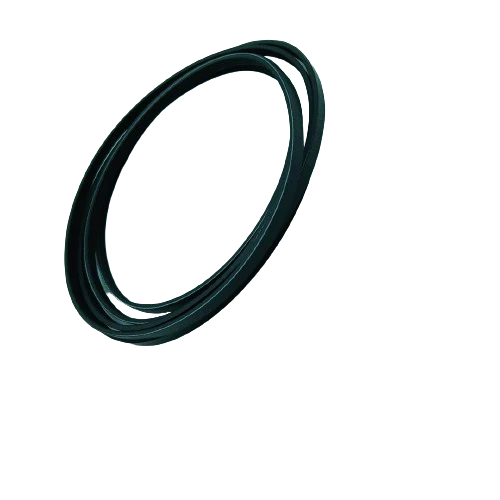
341241 Whirlpool Dryer Drum Belt – Fix Your Dryer That Won't Tumble, Won't Start, or Makes Squealing Noises
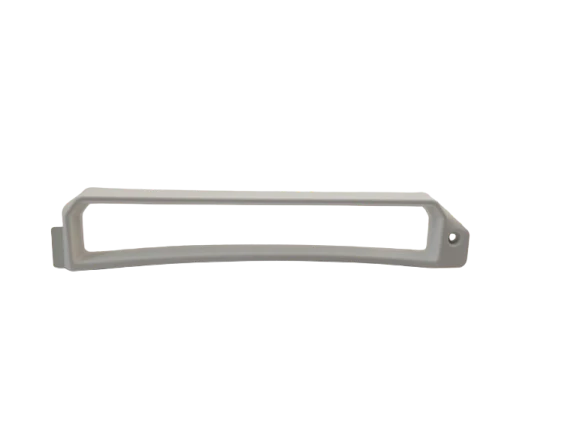
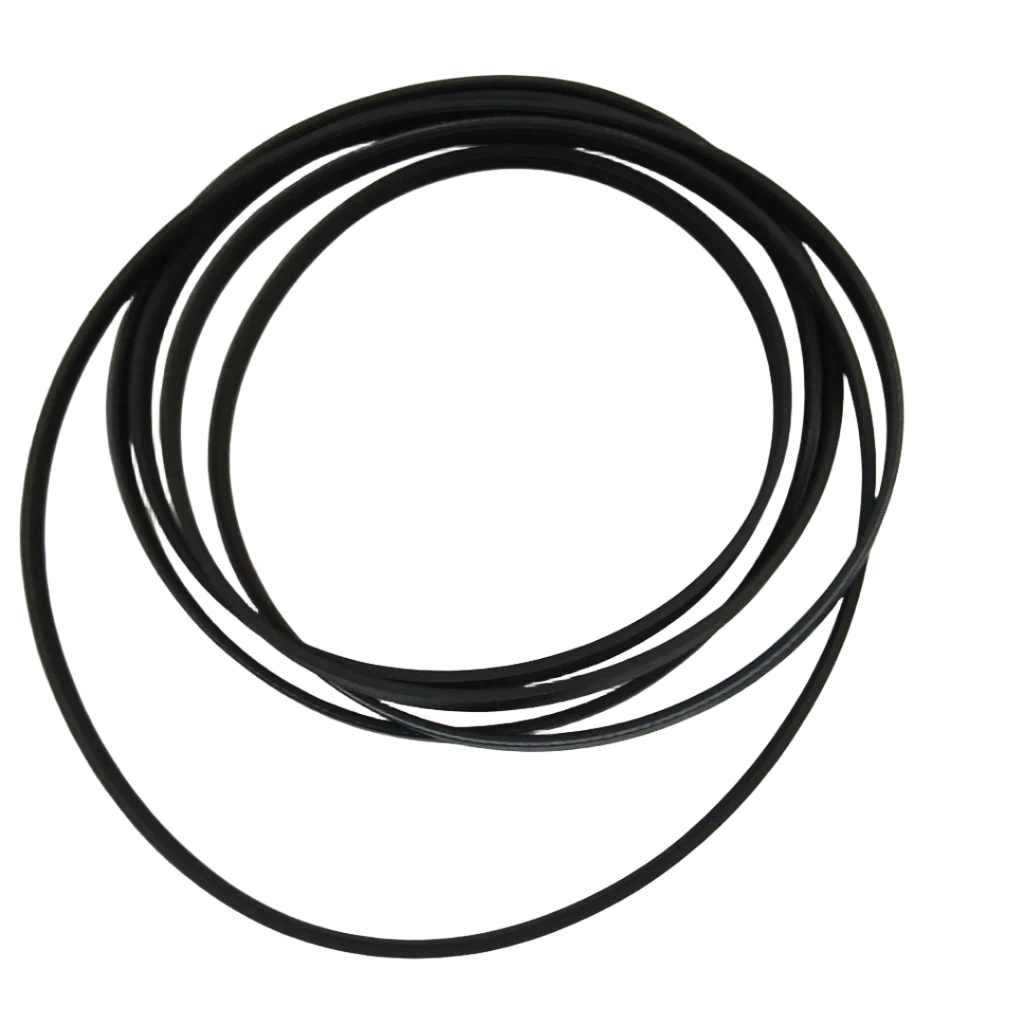
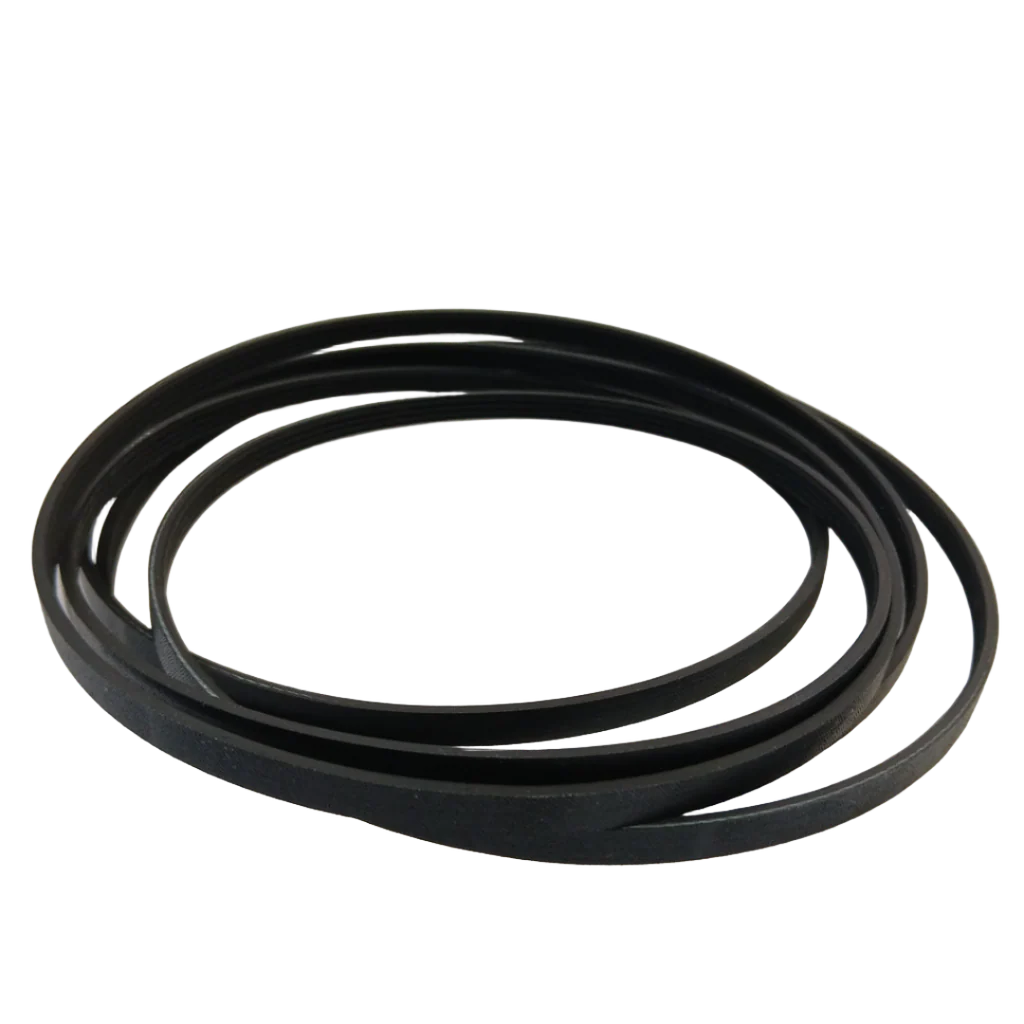
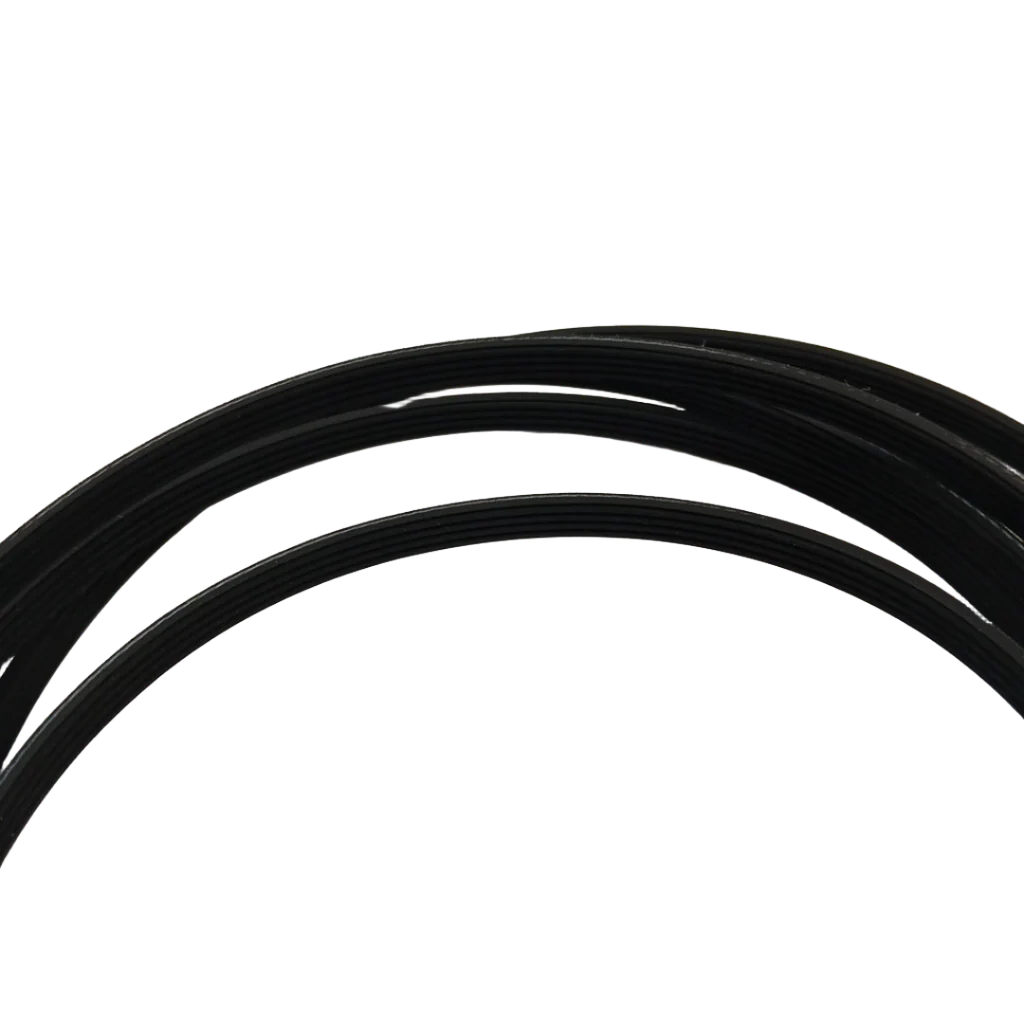
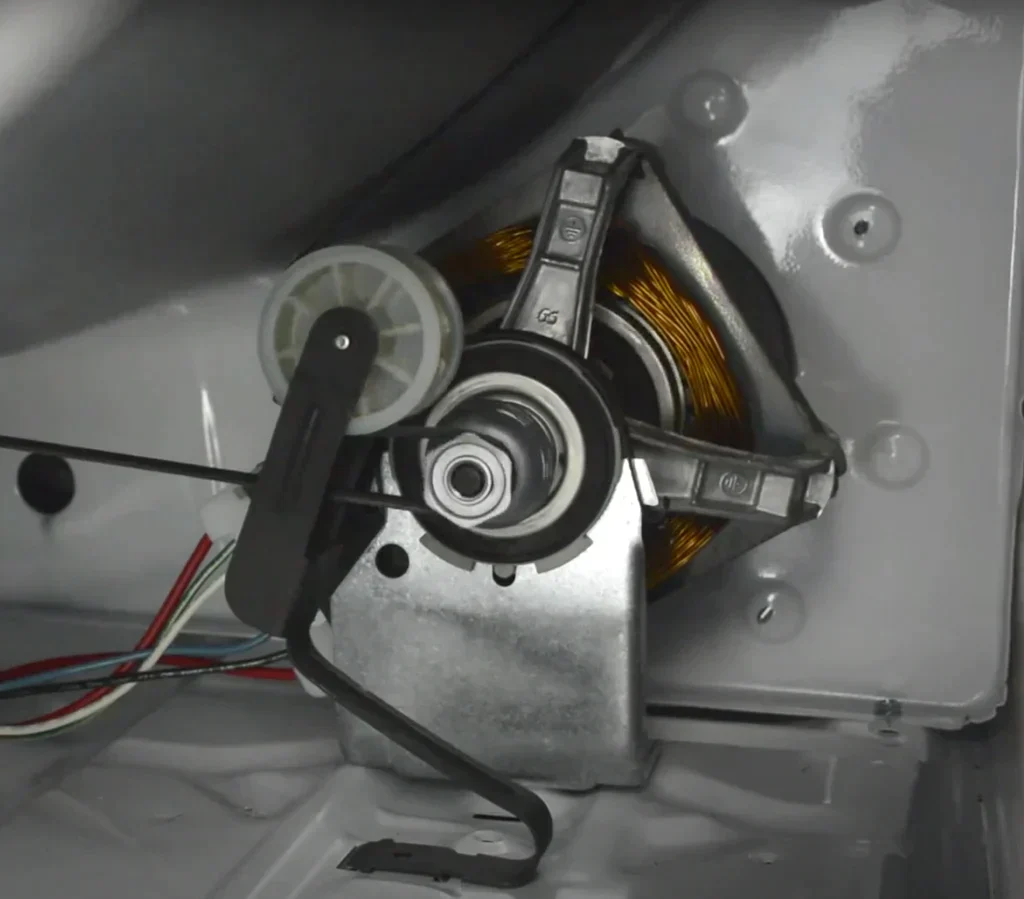
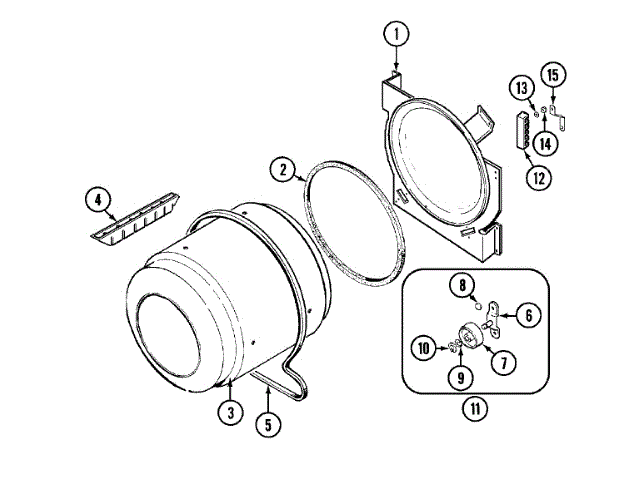
This essential OEM dryer drum belt is the fix for a Whirlpool dryer that won't tumble, has a motor that runs but the drum doesn't spin, makes squealing or thumping noises, or won't start at all. The drum belt is a long, thin belt that wraps around the outside of the dryer drum and connects to the motor pulley and idler pulley — it's what makes the drum spin when the motor runs.

✓ Common Problems This Part Fixes
- Dryer runs but drum doesn't turn or tumble
- Motor runs but clothes don't dry
- Dryer won't start at all (broken belt triggers belt switch)
- Squealing or squeaking noises during operation
- Thumping sounds from worn or damaged belt
- Belt found broken inside dryer cabinet
✓ Why This Belt Fails
Over time, the belt stretches, cracks, frays, or breaks completely from heat exposure and constant use. When the belt breaks, the motor runs but the drum doesn't turn — you'll hear the motor humming but clothes won't tumble. On many Whirlpool dryers, a broken belt also triggers the belt switch, which cuts power to the motor entirely — the dryer won't start at all. A worn belt that's slipping causes squealing or squeaking noises during operation.
✓ Key Features & Specifications
- Part Number: 341241 (Replaces WPW10112954, W10112954, 8066065, 689559, 694416)
- Part Type: Dryer Drum Belt
- Belt Size: 1/4" wide x 92-1/4" long
- Compatibility: Whirlpool, Maytag, KitchenAid, Amana, Roper, Crosley, Admiral, Estate, Kenmore electric and gas dryers
- OEM Quality: Genuine replacement part engineered to exact specifications
- Installation Time: Easy 20–30 minute DIY repair
✓ Premium XPart – OEM Quality, Better Price
Choose between genuine OEM or our premium XPart alternative. XPart belts meet or exceed OEM specifications at a better price point, giving you the same reliable performance and durability you expect from the original part.
✓ Installation Overview
Difficulty Level: Moderate – Most DIYers can complete this repair with basic tools.
Tools You'll Need:
- Putty knife or flat screwdriver
- 1/4" nut driver or socket
- Work gloves
Installation Steps:
- Unplug the dryer and pull it away from the wall
- Remove the lint screen and screws beneath it
- Use putty knife to release top panel clips and lift top
- Disconnect door switch wire and remove front panel screws
- Lift front panel off and set aside
- Release tension on idler pulley and remove old belt
- Loop new belt around drum (ribbed side against drum)
- Thread belt around motor pulley and idler pulley
- Reassemble front panel, top, and lint screen
- Test dryer operation
Safety Tip: Always disconnect power before servicing your appliance. If you're unsure about any step, consult a qualified appliance technician.
✓ Why Choose XPart Supply?
- 30+ Years Experience: Canadian appliance parts experts since 1994
- Guaranteed Fit: Free phone support to verify compatibility before you buy
- Fast Shipping: Quick delivery across Canada
- Expert Support: Real technicians available to answer your questions
- Quality Assurance: OEM and premium aftermarket parts you can trust
✓ Frequently Asked Questions
Q: How do I know if this belt fits my dryer model?
A: Check the supported model numbers in the product tags, or contact our team with your dryer's model number for guaranteed fit verification.
Q: What's the difference between OEM and XPart belts?
A: OEM is the original manufacturer part. XPart is a premium aftermarket alternative that meets or exceeds OEM specifications at a better price point.
Q: How long does a dryer belt typically last?
A: With normal use, a quality dryer belt should last 5-10 years. Lifespan depends on usage frequency and dryer maintenance.
Q: Can I install this belt myself?
A: Yes! This is a common DIY repair that takes 20-30 minutes with basic tools. Follow the installation steps above or search for video tutorials for your specific dryer model.
Original: $6.54
-70%$6.54
$1.96More Images


Whirlpool Dryer Drum Belt 341241 – OEM & Premium XPart Options Available (Compatible with WPW10112954, W10112954, 8066065)
341241 Whirlpool Dryer Drum Belt – Fix Your Dryer That Won't Tumble, Won't Start, or Makes Squealing Noises
This essential OEM dryer drum belt is the fix for a Whirlpool dryer that won't tumble, has a motor that runs but the drum doesn't spin, makes squealing or thumping noises, or won't start at all. The drum belt is a long, thin belt that wraps around the outside of the dryer drum and connects to the motor pulley and idler pulley — it's what makes the drum spin when the motor runs.
✓ Common Problems This Part Fixes
- Dryer runs but drum doesn't turn or tumble
- Motor runs but clothes don't dry
- Dryer won't start at all (broken belt triggers belt switch)
- Squealing or squeaking noises during operation
- Thumping sounds from worn or damaged belt
- Belt found broken inside dryer cabinet
✓ Why This Belt Fails
Over time, the belt stretches, cracks, frays, or breaks completely from heat exposure and constant use. When the belt breaks, the motor runs but the drum doesn't turn — you'll hear the motor humming but clothes won't tumble. On many Whirlpool dryers, a broken belt also triggers the belt switch, which cuts power to the motor entirely — the dryer won't start at all. A worn belt that's slipping causes squealing or squeaking noises during operation.
✓ Key Features & Specifications
- Part Number: 341241 (Replaces WPW10112954, W10112954, 8066065, 689559, 694416)
- Part Type: Dryer Drum Belt
- Belt Size: 1/4" wide x 92-1/4" long
- Compatibility: Whirlpool, Maytag, KitchenAid, Amana, Roper, Crosley, Admiral, Estate, Kenmore electric and gas dryers
- OEM Quality: Genuine replacement part engineered to exact specifications
- Installation Time: Easy 20–30 minute DIY repair
✓ Premium XPart – OEM Quality, Better Price
Choose between genuine OEM or our premium XPart alternative. XPart belts meet or exceed OEM specifications at a better price point, giving you the same reliable performance and durability you expect from the original part.
✓ Installation Overview
Difficulty Level: Moderate – Most DIYers can complete this repair with basic tools.
Tools You'll Need:
- Putty knife or flat screwdriver
- 1/4" nut driver or socket
- Work gloves
Installation Steps:
- Unplug the dryer and pull it away from the wall
- Remove the lint screen and screws beneath it
- Use putty knife to release top panel clips and lift top
- Disconnect door switch wire and remove front panel screws
- Lift front panel off and set aside
- Release tension on idler pulley and remove old belt
- Loop new belt around drum (ribbed side against drum)
- Thread belt around motor pulley and idler pulley
- Reassemble front panel, top, and lint screen
- Test dryer operation
Safety Tip: Always disconnect power before servicing your appliance. If you're unsure about any step, consult a qualified appliance technician.
✓ Why Choose XPart Supply?
- 30+ Years Experience: Canadian appliance parts experts since 1994
- Guaranteed Fit: Free phone support to verify compatibility before you buy
- Fast Shipping: Quick delivery across Canada
- Expert Support: Real technicians available to answer your questions
- Quality Assurance: OEM and premium aftermarket parts you can trust
✓ Frequently Asked Questions
Q: How do I know if this belt fits my dryer model?
A: Check the supported model numbers in the product tags, or contact our team with your dryer's model number for guaranteed fit verification.
Q: What's the difference between OEM and XPart belts?
A: OEM is the original manufacturer part. XPart is a premium aftermarket alternative that meets or exceeds OEM specifications at a better price point.
Q: How long does a dryer belt typically last?
A: With normal use, a quality dryer belt should last 5-10 years. Lifespan depends on usage frequency and dryer maintenance.
Q: Can I install this belt myself?
A: Yes! This is a common DIY repair that takes 20-30 minutes with basic tools. Follow the installation steps above or search for video tutorials for your specific dryer model.
Product Information
Product Information
Shipping & Returns
Shipping & Returns
Description
341241 Whirlpool Dryer Drum Belt – Fix Your Dryer That Won't Tumble, Won't Start, or Makes Squealing Noises
This essential OEM dryer drum belt is the fix for a Whirlpool dryer that won't tumble, has a motor that runs but the drum doesn't spin, makes squealing or thumping noises, or won't start at all. The drum belt is a long, thin belt that wraps around the outside of the dryer drum and connects to the motor pulley and idler pulley — it's what makes the drum spin when the motor runs.
✓ Common Problems This Part Fixes
- Dryer runs but drum doesn't turn or tumble
- Motor runs but clothes don't dry
- Dryer won't start at all (broken belt triggers belt switch)
- Squealing or squeaking noises during operation
- Thumping sounds from worn or damaged belt
- Belt found broken inside dryer cabinet
✓ Why This Belt Fails
Over time, the belt stretches, cracks, frays, or breaks completely from heat exposure and constant use. When the belt breaks, the motor runs but the drum doesn't turn — you'll hear the motor humming but clothes won't tumble. On many Whirlpool dryers, a broken belt also triggers the belt switch, which cuts power to the motor entirely — the dryer won't start at all. A worn belt that's slipping causes squealing or squeaking noises during operation.
✓ Key Features & Specifications
- Part Number: 341241 (Replaces WPW10112954, W10112954, 8066065, 689559, 694416)
- Part Type: Dryer Drum Belt
- Belt Size: 1/4" wide x 92-1/4" long
- Compatibility: Whirlpool, Maytag, KitchenAid, Amana, Roper, Crosley, Admiral, Estate, Kenmore electric and gas dryers
- OEM Quality: Genuine replacement part engineered to exact specifications
- Installation Time: Easy 20–30 minute DIY repair
✓ Premium XPart – OEM Quality, Better Price
Choose between genuine OEM or our premium XPart alternative. XPart belts meet or exceed OEM specifications at a better price point, giving you the same reliable performance and durability you expect from the original part.
✓ Installation Overview
Difficulty Level: Moderate – Most DIYers can complete this repair with basic tools.
Tools You'll Need:
- Putty knife or flat screwdriver
- 1/4" nut driver or socket
- Work gloves
Installation Steps:
- Unplug the dryer and pull it away from the wall
- Remove the lint screen and screws beneath it
- Use putty knife to release top panel clips and lift top
- Disconnect door switch wire and remove front panel screws
- Lift front panel off and set aside
- Release tension on idler pulley and remove old belt
- Loop new belt around drum (ribbed side against drum)
- Thread belt around motor pulley and idler pulley
- Reassemble front panel, top, and lint screen
- Test dryer operation
Safety Tip: Always disconnect power before servicing your appliance. If you're unsure about any step, consult a qualified appliance technician.
✓ Why Choose XPart Supply?
- 30+ Years Experience: Canadian appliance parts experts since 1994
- Guaranteed Fit: Free phone support to verify compatibility before you buy
- Fast Shipping: Quick delivery across Canada
- Expert Support: Real technicians available to answer your questions
- Quality Assurance: OEM and premium aftermarket parts you can trust
✓ Frequently Asked Questions
Q: How do I know if this belt fits my dryer model?
A: Check the supported model numbers in the product tags, or contact our team with your dryer's model number for guaranteed fit verification.
Q: What's the difference between OEM and XPart belts?
A: OEM is the original manufacturer part. XPart is a premium aftermarket alternative that meets or exceeds OEM specifications at a better price point.
Q: How long does a dryer belt typically last?
A: With normal use, a quality dryer belt should last 5-10 years. Lifespan depends on usage frequency and dryer maintenance.
Q: Can I install this belt myself?
A: Yes! This is a common DIY repair that takes 20-30 minutes with basic tools. Follow the installation steps above or search for video tutorials for your specific dryer model.